 English
Views: 0 Author: Site Editor Publish Time: 2024-12-25 Origin: Site


Creating a makeshift studio light setup can be a game-changer for content creators, photographers, and videographers aiming for professional-quality lighting on a budget. Whether working from home or on the go, a DIY studio light solution can significantly enhance the quality of your work. Follow this guide to craft your own lighting setup tailored to your needs.
Lighting is a critical element in photography and videography, directly impacting the quality and aesthetics of the final product. Proper lighting:
Enhances image quality: Good lighting ensures clarity and reduces noise in photos and videos.
Sets the mood: Different lighting setups convey various emotions, from bright and cheerful to dark and dramatic.
Highlights subjects: Strategic lighting emphasizes details, textures, and colors, making subjects stand out.
Reduces editing time: Well-lit images and videos require less post-production adjustment, saving time and effort.
Investing in proper lighting, even through DIY methods, can dramatically elevate your creative projects.
Creating a makeshift studio light doesn’t have to be complicated or expensive. Here are the essential items you’ll need:
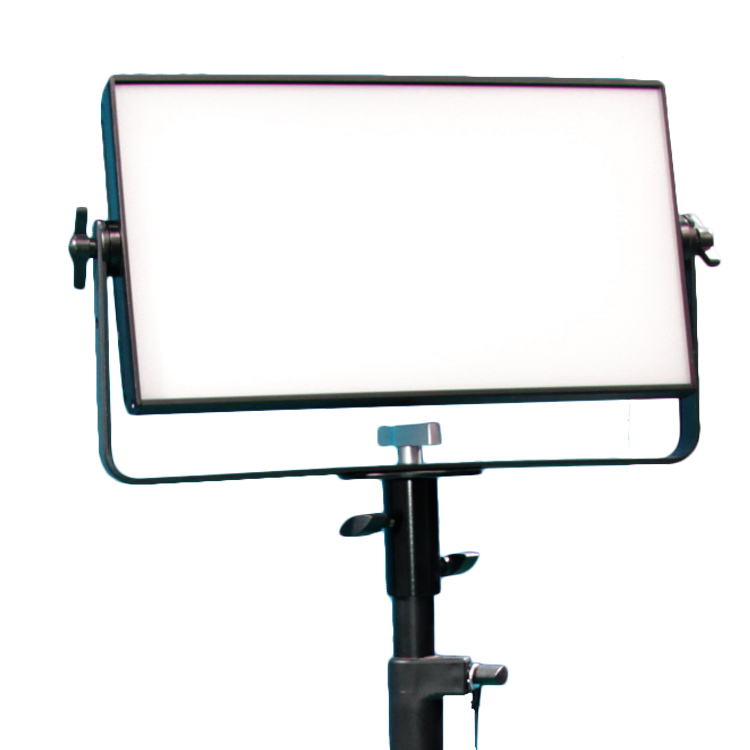
Light sources: LED bulbs, desk lamps, or clip lights with adjustable brightness.
Reflectors: Aluminum foil, white foam boards, or reflective car sunshades.
Diffusers: Wax paper, frosted shower curtains, or thin white fabric to soften light.
Supports: Tripods, adjustable clamps, or sturdy stands to hold the lights.
Power supplies: Extension cords and power strips to ensure flexible placement.
Optional accessories: Colored gels for creative lighting effects, duct tape, or Velcro for easy assembly.
Once you’ve gathered the materials, follow these steps to assemble your DIY lighting setup:
Select an LED bulb or lamp with adjustable brightness.
Attach the light source to a tripod or secure it with clamps for stability.
Wrap aluminum foil around a foam board or car sunshade, ensuring the shiny side faces outward.
Position the reflector to bounce light onto your subject for even illumination.
Place a piece of wax paper, frosted shower curtain, or white fabric over the light source.
Secure the diffuser with tape or clips to soften harsh shadows and create a natural glow.
Arrange the light source and reflector at different angles to achieve your desired lighting effect.
Experiment with the height, distance, and positioning for optimal results.
To take your setup to the next level, consider these additional features and modifications:
Add dimmers: Install dimmer switches or use smart bulbs for precise brightness control.
Incorporate colored gels: Attach gels to the light source for creative color effects.
Use multiple lights: Combine key, fill, and backlights to achieve a professional three-point lighting setup.
Build a softbox: Enclose the light source and diffuser in a box lined with reflective material for focused, soft light.
Here are some tips to maximize the effectiveness of your DIY lighting setup:
Test before shooting: Experiment with different angles and intensities to find the best lighting.
Adjust for your subject: Use diffused light for portraits and direct light for products.
Minimize shadows: Position reflectors strategically to fill in dark areas.
Adapt to your environment: Adjust your setup based on available natural light and the space you’re working in.
Creating a makeshift studio light is a cost-effective and practical solution for photographers, videographers, and content creators who want to achieve professional-quality lighting without investing in expensive equipment. By gathering basic materials and following a few simple steps, you can craft a lighting setup that enhances the quality of your work and opens up new creative possibilities.